
Monday, February 28, 2011

Testing of the Side Art Animations


Need to pick up some yellow LEDs to complete the effect. But here is the side art and some pics to show you some of the areas I plan to animate. The arduino arrived from mouser today so I will start to program that for the effects, and also look into how to connect the LEDs to the board as there are unfortunately no screw down connectors on it.
Another LED Test
iPhone camera photos don't really do the effect justice, I find the iPhone makes the LED look like it overpowers the decal. Here is a picture with a better camera that shows how you still get a lot of the detail and the image is not overpowered by the LED light.


Sunday, February 27, 2011
Pucks Installed in Cabinet Sides
Here is a pic of the installed pucks, the LEDs will sit in here for the cabinet animations I am doing. For the smaller lights like eyes and stars I am using just a piece of acrylic rod that is about the width of a LED.
These are installed so that the decal will sit flat and also to help diffuse the light as just having a LED behind the sticker didn't look very good.

Decals Installed on Back Box
Haven't got all the decals installed yet, but installed the back box ones now and am testing the lights. Ordered the Arduino to control the LEDs, it will control 64 outputs individually, I think all told I'll have about 30 to control.


 Here are a couple of pics, you can see the heart animated, and also I played around with different color LEDs for the eyes. Going to go with blue and may work to make sure the LED does not go outside the lines, or at least dial the intensity down a bit so you can still see some of the decal and its not jsut a bright light.
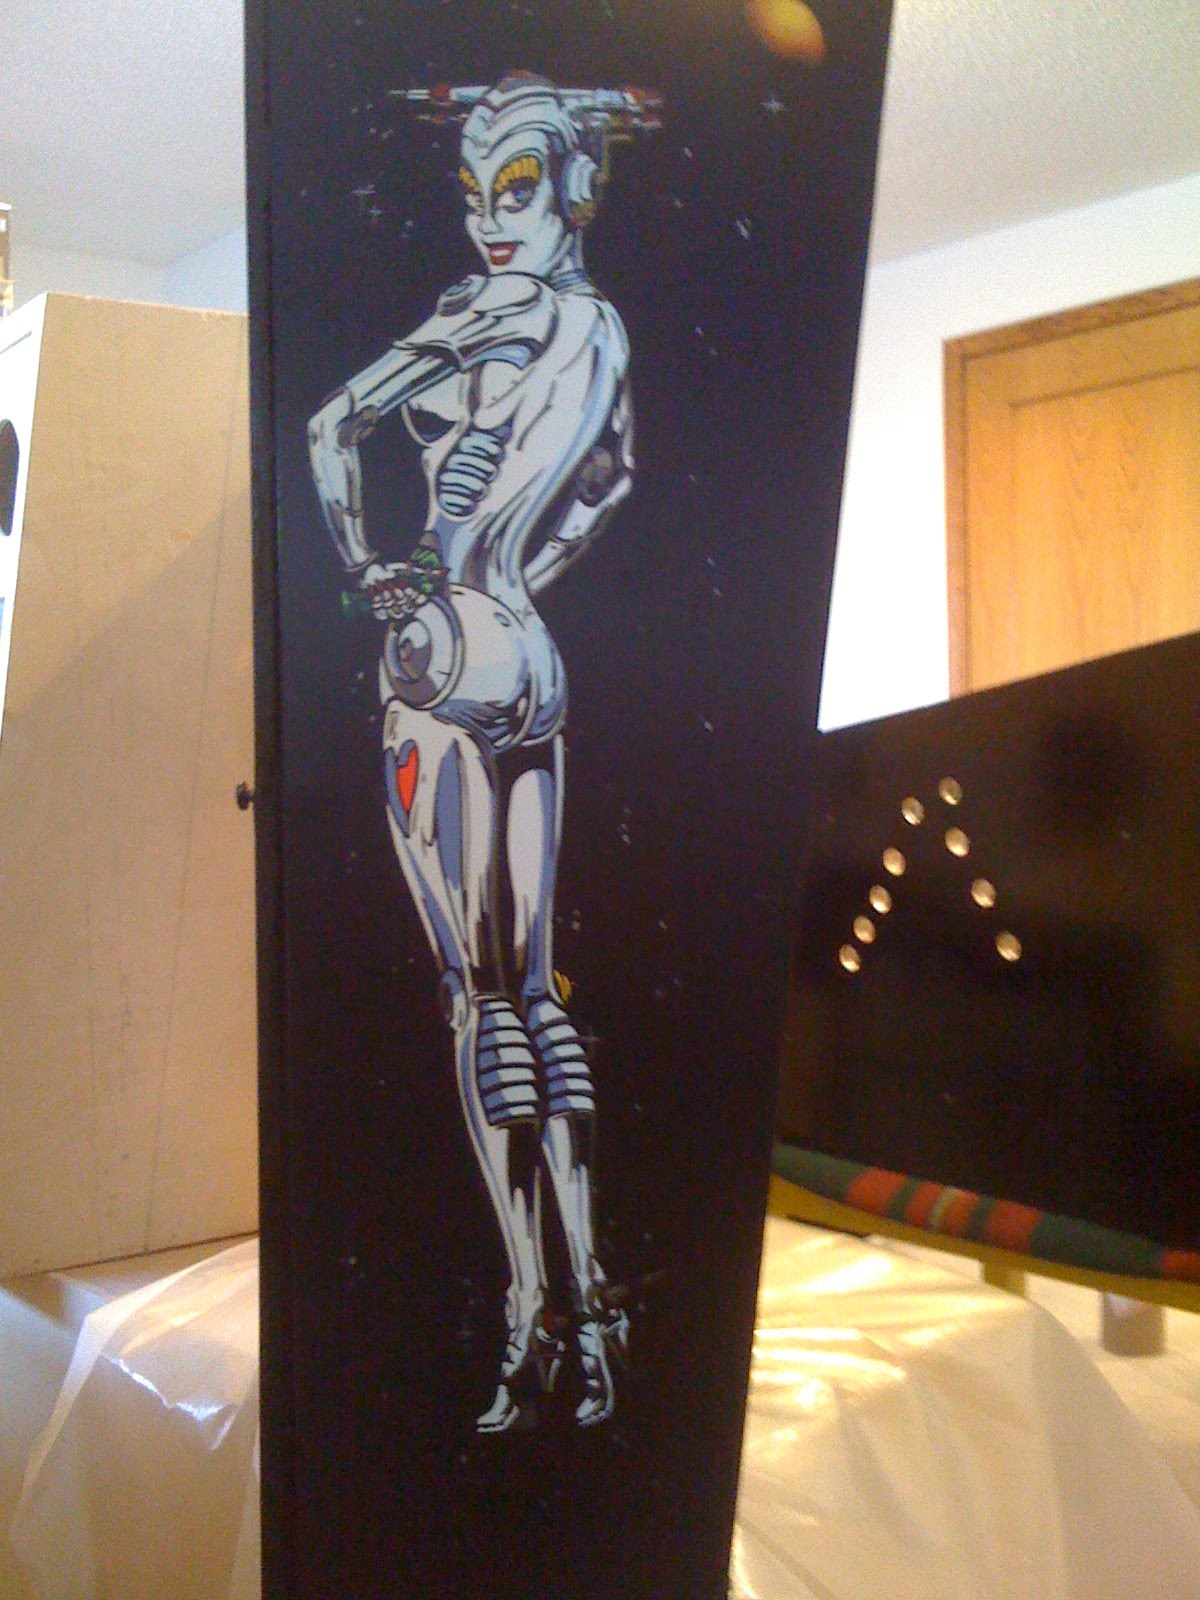


 Here are a couple of pics, you can see the heart animated, and also I played around with different color LEDs for the eyes. Going to go with blue and may work to make sure the LED does not go outside the lines, or at least dial the intensity down a bit so you can still see some of the decal and its not jsut a bright light.
Tuesday, February 22, 2011
Pinball Cabinet Primed


Here is the primed pinball cabinet, used a special primer that from the Matador Line of paint that really covered well. Can't see any wood grain at all.
Will put on the finishing coats tomorrow. You can see an image of the LED pucks installed also.
Subscribe to:
Posts (Atom)