Sunday, December 11, 2011
Ambilight Solution Random Color Swirl
Here is the Ambilight solution playing a random color swirl that is not tied to the video on the PC.
Ambilight DIY Solution
Been playing with my own Ambilight Lighting solution. This solution uses LEDs and WS2801 chips to allow me to address them indvidually.
Solution works fairly well but will try again with brighter LEDs.
Saturday, October 1, 2011

Nintendo PC
Recently built nintendo PC. Essentially a gutted Nintendo running an ITX form factor computer. Most emulators and hyperspin work great just on an atom 330, but for the next one I build I'm going to look into a i5 or more powerful machine to support Panasonic 3D0 and Dreamcast.

Hyperspin also requires a lot of CPU power so to enable intro videos and other features more PC is needed.
Saturday, September 10, 2011


Wednesday, September 7, 2011

Friday, August 26, 2011

Tuesday, August 2, 2011
Konker KSM 200 Street Tires
Here is the Konker KSM 200 with the 17 inch street tires that it comes fitted with from the factory. These are great for onroad, but not much for in the mud and on slippery rocks or tree roots.

Konker the distributor for Canada seems to be defunct, so not sure if you can still get the offroad kits that were made for these bikes with a 21 inch/18 inch offroad setup anymore from them. I found mine used.
I have heard that a new distributor may have picked up the bikes though for Canada, I'll try and get more details about that but it would be great news as sourcing the parts from the states for the sister qinqqi bike is a pain as you need a US address. Many suzuki parts will fit engine wise, but even then it can be a pain because of subtle differences.
It's too bad you can't get this bike from the factory with off road tires, like it's sister qinqi xp or xf 200 in the states.

Konker with half a fork
Swapped out the street tires for this offroad konker wheel set on my Konker KSM 200 dual sport. Process was pretty straight forward except I managed to bust the axle holder overtightening a pinch bolt to keep the axle from turning. Here is a pic of the bike with one side of the front fork removed.
Been pretty happy with the bike so far other than it seems to want to keep blowing tail light bulbs and the stuff I've broken myself. Got it out the door for $2100 and the wheel kit used for $500.
Will do about 120 KM/hr on the highway, and I ride it to nearby McLean Creeek and can ride for most of the day on a tank of gas and make it back. Probably put about 200 KM on it I imagine. Had 17 inch street tires on it previously, so anxious to try it out with the new off road 21 and 18 inch setup I have for it.

Konker Repair
Here are some pics of a front fork repair weld I had done on my Konker KSM200 dual sport bike. Managed to crack the axle holder when I tightened the pinch bolt that keeps the axle from turning. Easy to do, didn't have much torque on the part, should probably have stood up to more pressure but if you are ever tightening this be careful.


Wednesday, May 11, 2011
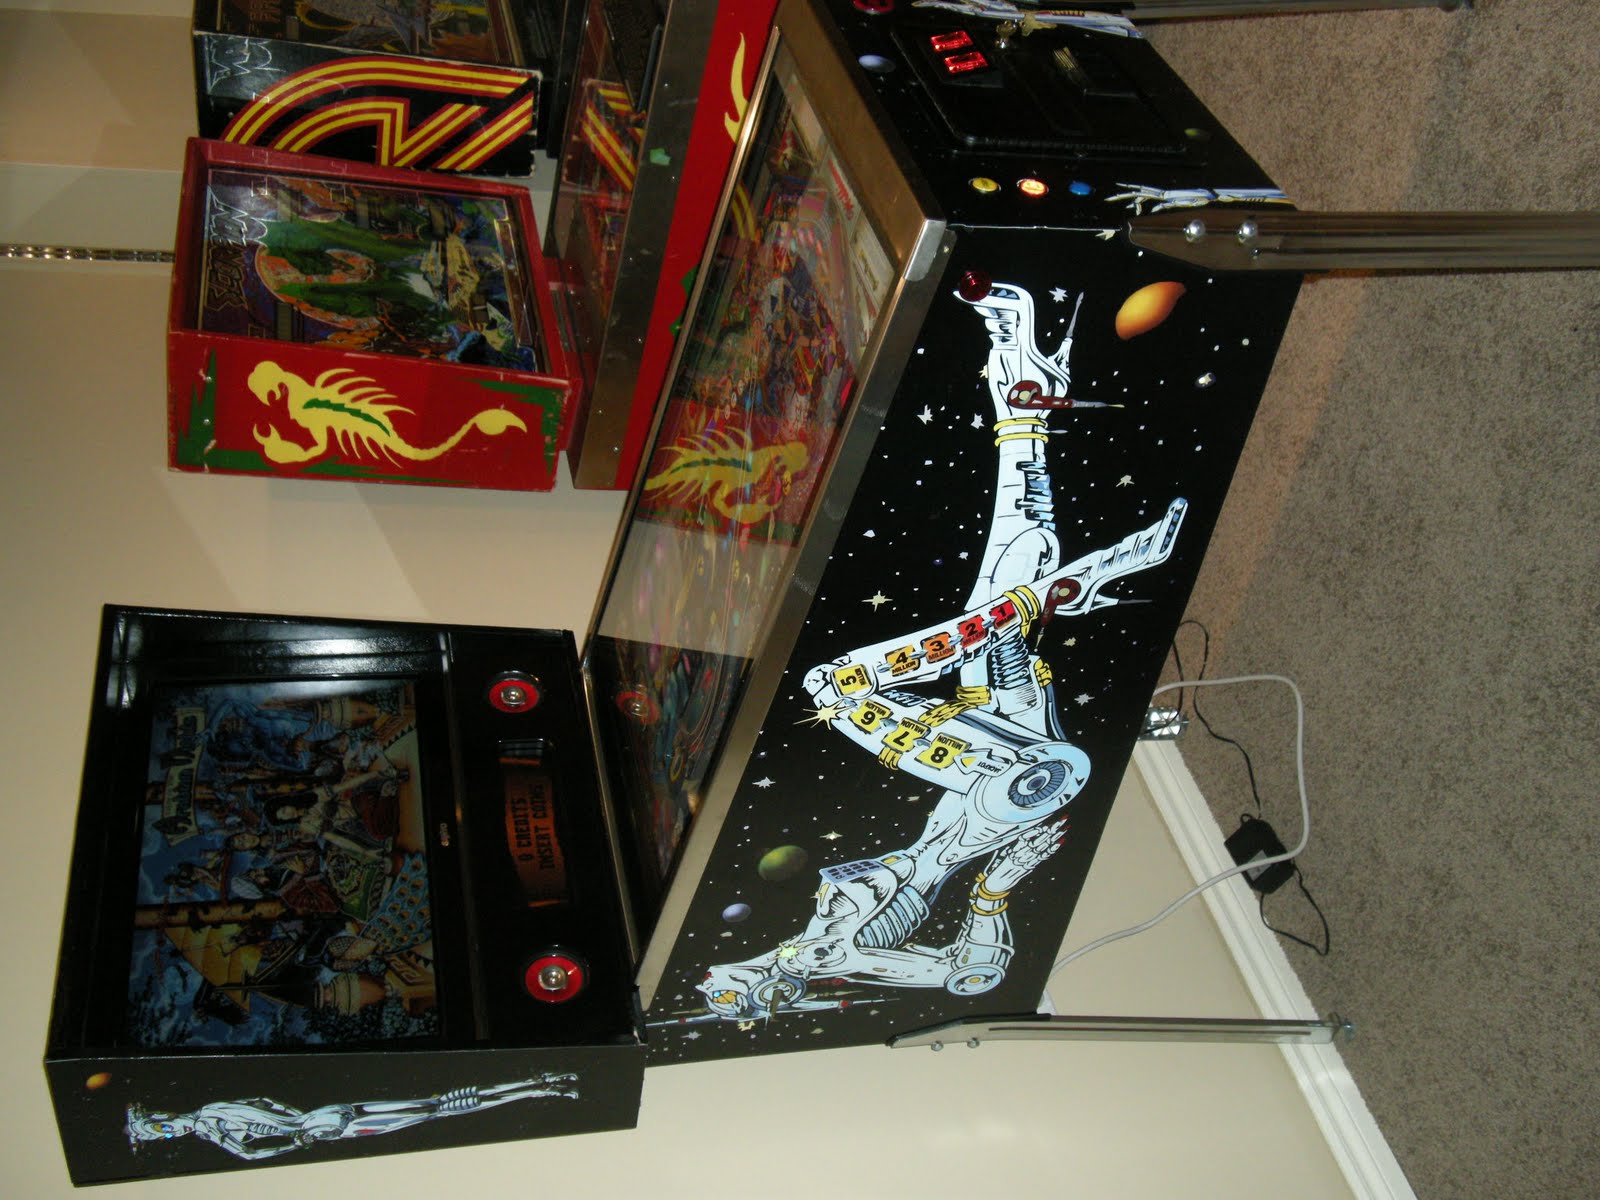
Completed Cabinets

Nearly completed another couple of cabinets, just playing around with the computer for one which seems to not want to power on. Possibly a power supply issue but we'll see.
Also need to order the glass, and deside what I want to do for graphics.
These machines are similar to the first one I built, but the wiring is a lot cleaner now since I know where everything should be layed out, and also I am using different flipper buttons.
The flipper buttons seem great so far, emulate the leaf spring feel without the adjustment headaches, and are RGB LED lit so you can get several colors out of them.
Monday, April 25, 2011
Power on TVs Automatically for Pinball Machine


The current TVs I am using do not stay on when powered down. They will stay on in standby and come on automatically if they get a signal, but they won't stay on if power is removed which is how I have wired my machines to work.
To get around this I will be using this cap/resistor and DPST relay. All together this solution is about $10. I'll post pics and more details once it's all wired.
Saturday, March 26, 2011
Video of Visual Pinball Machine Played in the Dark
Here is a video of the Visual Pinball Machine played in the dark, the 3 CREE RGBW LEDs can almost light the entire basement when they go off. It's amazing the difference between them and the standard LEDs in the side of the cabinet which aren't nearly as bright although they are about the same size.
I will probably tune the Arduino animation further, this is just a rough first cut. I think speeding up the winning flashes will help and perhaps some other changes. Interestingly the animation works fine off the USB power supply of the computer, but using a 12V 1600mA power supply the animation will not work completely. I suspect that the external power supply must not be up to it, but it should be ample theoretically.


Sunday, March 6, 2011
Monday, February 28, 2011

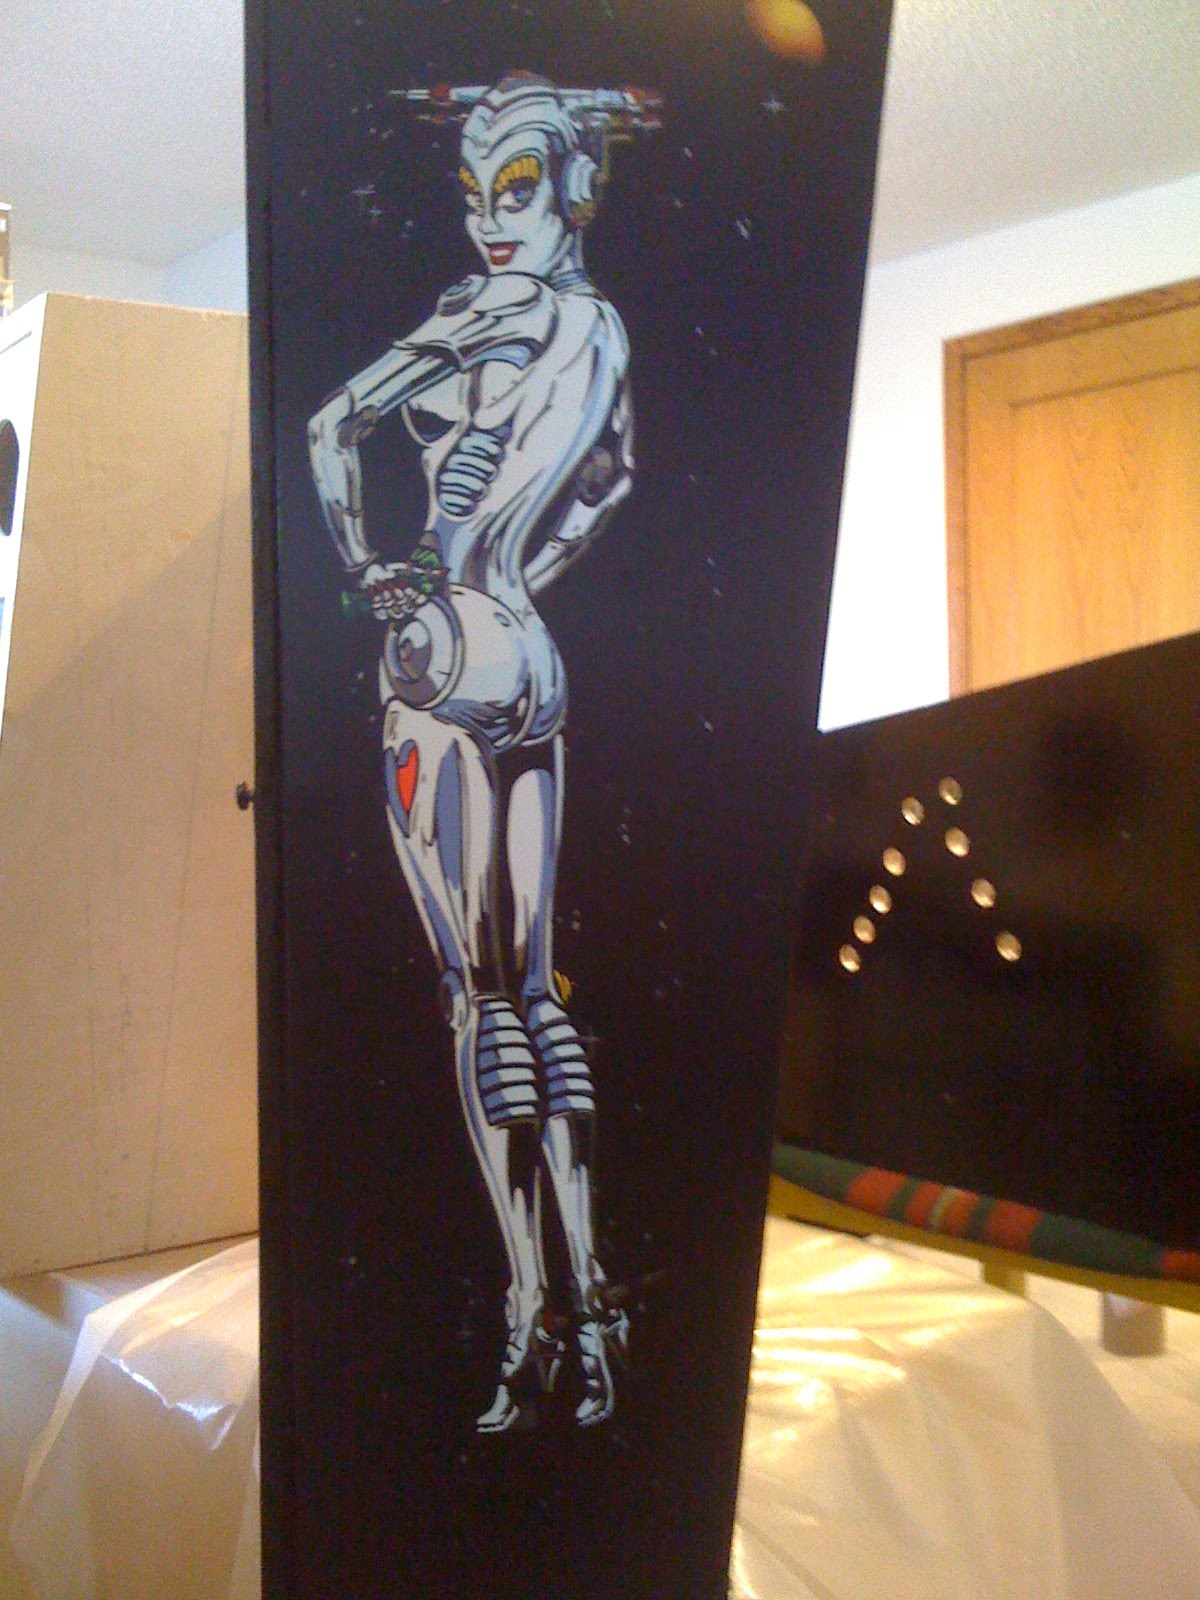
Testing of the Side Art Animations


Need to pick up some yellow LEDs to complete the effect. But here is the side art and some pics to show you some of the areas I plan to animate. The arduino arrived from mouser today so I will start to program that for the effects, and also look into how to connect the LEDs to the board as there are unfortunately no screw down connectors on it.
Another LED Test
iPhone camera photos don't really do the effect justice, I find the iPhone makes the LED look like it overpowers the decal. Here is a picture with a better camera that shows how you still get a lot of the detail and the image is not overpowered by the LED light.


Sunday, February 27, 2011
Pucks Installed in Cabinet Sides
Here is a pic of the installed pucks, the LEDs will sit in here for the cabinet animations I am doing. For the smaller lights like eyes and stars I am using just a piece of acrylic rod that is about the width of a LED.
These are installed so that the decal will sit flat and also to help diffuse the light as just having a LED behind the sticker didn't look very good.

Decals Installed on Back Box
Haven't got all the decals installed yet, but installed the back box ones now and am testing the lights. Ordered the Arduino to control the LEDs, it will control 64 outputs individually, I think all told I'll have about 30 to control.


 Here are a couple of pics, you can see the heart animated, and also I played around with different color LEDs for the eyes. Going to go with blue and may work to make sure the LED does not go outside the lines, or at least dial the intensity down a bit so you can still see some of the decal and its not jsut a bright light.


 Here are a couple of pics, you can see the heart animated, and also I played around with different color LEDs for the eyes. Going to go with blue and may work to make sure the LED does not go outside the lines, or at least dial the intensity down a bit so you can still see some of the decal and its not jsut a bright light.
Tuesday, February 22, 2011
Pinball Cabinet Primed


Here is the primed pinball cabinet, used a special primer that from the Matador Line of paint that really covered well. Can't see any wood grain at all.
Will put on the finishing coats tomorrow. You can see an image of the LED pucks installed also.
Sunday, February 20, 2011
Acrylic Pucks for LED side Art Animation


Here are some pictures of the process to create the acrylic pucks that will be used to dffuse the light and flush mount the LEDs into the side of the cabinet so they can be animated to highlight parts of the artwork.
Thursday, February 17, 2011
Cabinet Side Art LED Animation


Started working on the cabinet side art animation, here are some acrylic discs that I will use to create larger LED lighting for areas requiring it. For eye lighting and other smaller details, I will be using smaller diameter rods about the width of the LED.
Subscribe to:
Comments (Atom)